Continuous delivery with Gitlab
2016-10-20 | by Luis Orduz in SoftwareWhen I worked full-time in unique projects, writing the code and tests before running everything manually and then deploying to staging or production, also manually, was good enough. Now, however, with the potential to work in several and vastly different projects and environments, this "process" has become increasingly tedious; as such, as I've become more interested in operations since I started working with Docker, I tasked myself with automating this.
After a while of trying different tools, and the impossibility to work with others due to the limited income of a recent freelancer, I've settled in a process that I believe will suit me just fine, thanks to GitLab.com's all-around awesomeness. It beats the other offerings I considered by a margin:
- Over GitHub, GitLab has private repositories, something clients will want, in its free tier and their built-in CI.
- Over Google Cloud Repositories, GitLab has their integrated CI.1
- Over Heroku (which I was reticent about anyway for different reasons), GitLab CI is far less opinionated and offers more freedom in setting up the delivery process while allowing itself to deploy different types of applications more easily.
- Over dedicated automation tools such as Jenkins or Buildbot, GitLab CI has the advantage of being simpler and straightforward. It might not be as maneuverable, but I believe what it offers is more than I need.
Finally, GitLab has the advantage that its CI service is fully integrated and out-of-the-box with the git repositories, along with other useful or potentially useful features. One of these is that it works extremely well with docker, which I already use for local development.
My development process is now, roughly:
- Running docker containers locally.
- Using git hooks (set in place using bash scripts) to trigger tests.
- Pushing to GitLab, where their CI will take charge of running tests again and, on success, pushing to the defined destination.
Right now, I'm pushing to Google App Engine, whose free tier, despite their lacking repositories2, is still the best option for me.
But enough of introduction, let's get on with the guide:
Preparation
We need:
- An account in GitLab.com or one's own GitLab server. I believe a private GitLab server would work too but I've only tested this on the website.
- An account in Google Cloud. Or adjust the GAE-specific steps to your vendor of choice.
- Docker, docker-compose, and git installed locally. Some familiarity with git might be required.
GAE Setup
(If you're already familiar with creating a project in Google App Engine or use a different vendor, skip ahead to GitLab setup).
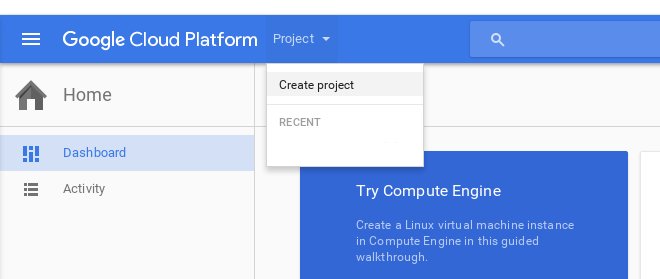
In the cloud console, create a project:
Fill in the name you want (I called mine "gitlab-test").
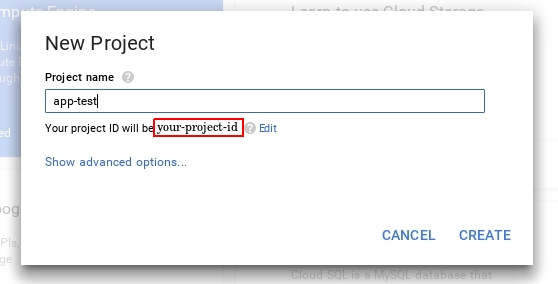
For all of the following steps, remember the project ID that was returned upon creation.
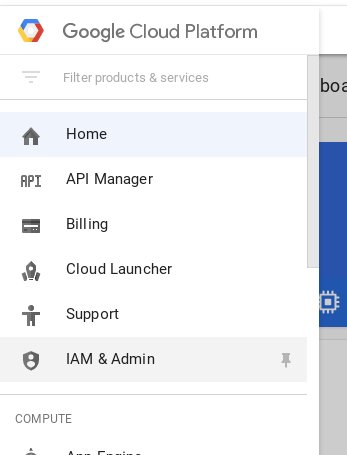
Afterwards, go to IAM & Admin:
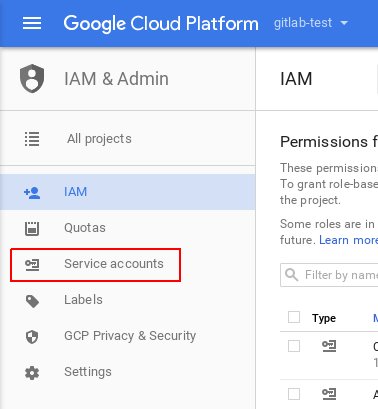
Once there, click on "Service Accounts":
Then click on "CREATE SERVICE ACCOUNT" and fill in the form that pops up like so:

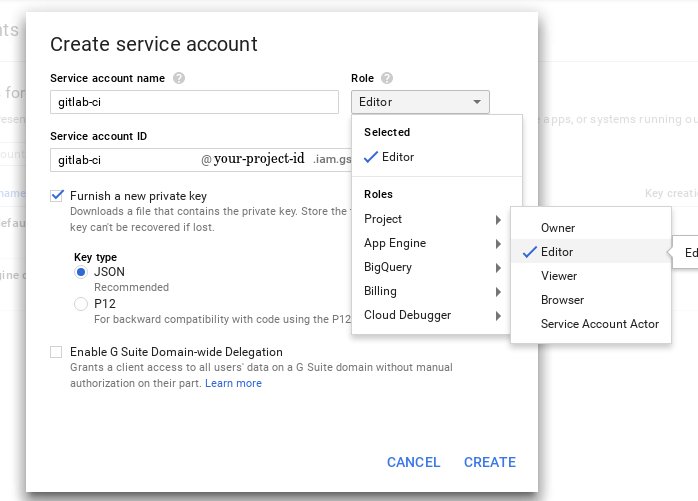
After clicking "CREATE", this will download a json file that contains the key that GitLab CI needs to connect to GAE.
Now we need to enable the two APIs required to deploy to app engine remotely. There's a straightforward way that is merely clicking a link but, since I wouldn't trust it myself if I didn't see it firsthand, I won't expect you to trust it either. So the slightly longer way it is:
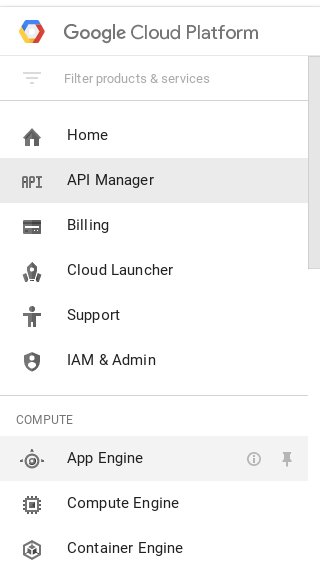
In the google cloud console sidebar, click on API manager:
Once in the API manager, click in "ENABLE API".

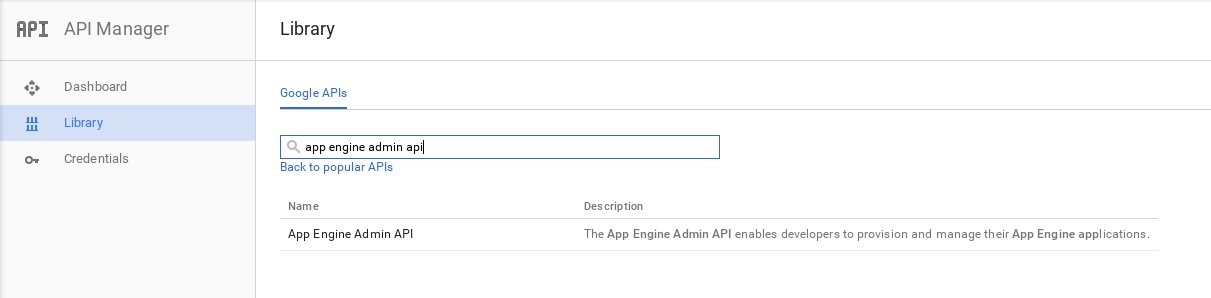
In the library that opens there's a search box, type "app engine admin api" there and click in the first result.
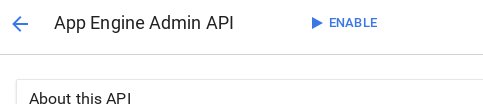
Once there, click in "ENABLE".
Now just repeat this process (API Manager > Enable API > Search > Enable) for "Google Cloud Storage".
GitLab setup
(If you're already familiar with creating a GitLab project and setting up project variables, go straight to Code).
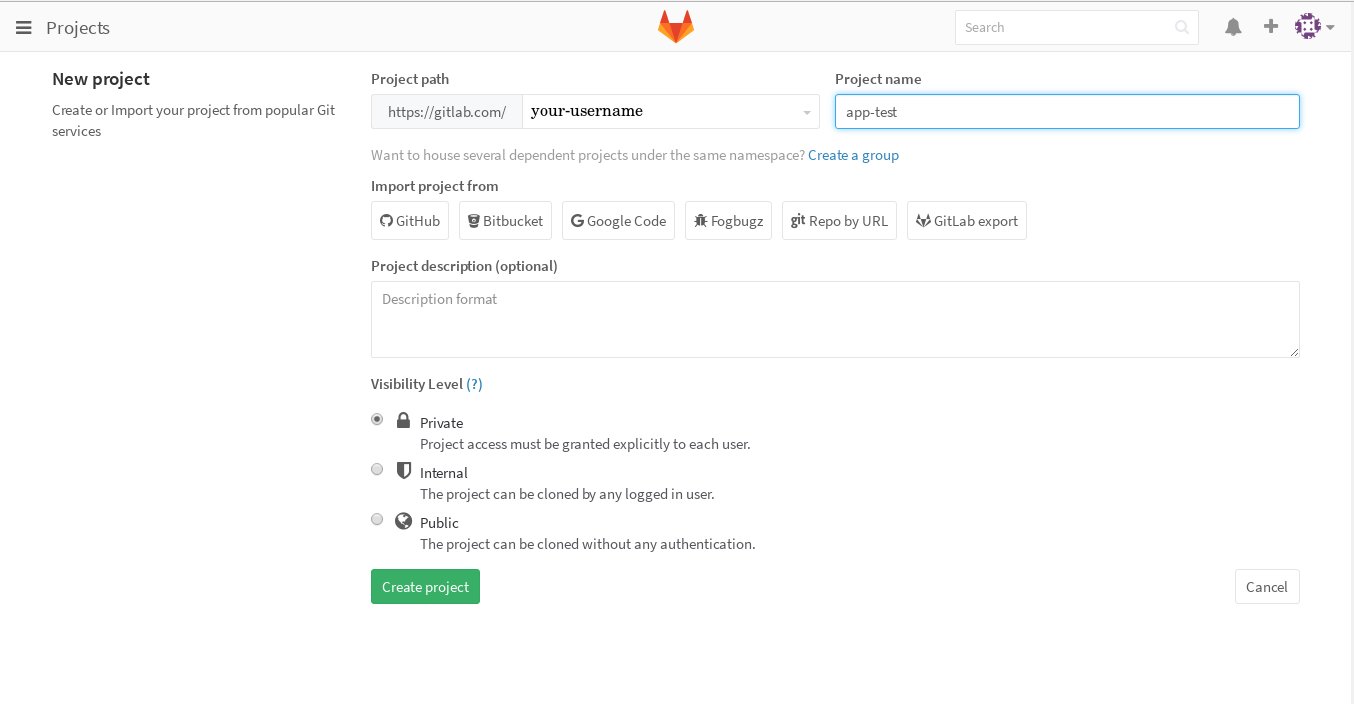
First of all, create a project by clicking on the "New Project" button:

Fill up the "new project" form using the settings and name you want:
After sending the form, click on the project settings menu and select "Variables":
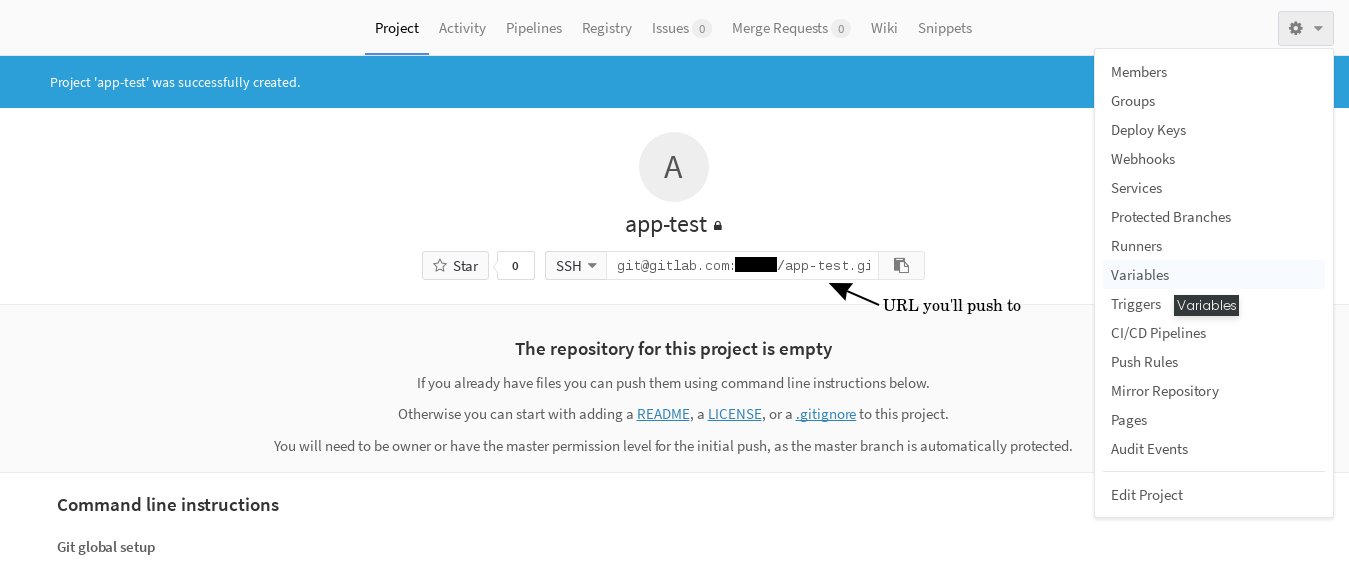
Set the GAE_PROJECT variable with the id of your Google Cloud Project:

Afterwards, set a new variable named GAE_KEY, whose value must be the contents of the json file we downloaded earlier from GAE. Delete the json file as it could be dangerous to have it lying around.
These variables might not be needed if the process to deploy to your vendor doesn't require authentication or there are other ways of authenticating.
Code
The app we're deploying will be a simple "Hello World" in Flask with the following structure:
app
| - app.yaml
| - docker-compose.yml
| - .gitlab-ci.yml
| - app
|   | - __init__.py
|   | - app.py
|   | - test.py
|   | - Dockerfile
|   | - requirements.txt
app.py is within a module and not in the root folder (which would be simpler) for ease of deployment to Google App Engine. This is its code:
from flask import Flask

app = Flask(__name__)

@app.route('/')
def hello():
    return 'Hello World!'

if __name__ == "__main__":
    app.run(debug=True)
test.py, as its name indicates, it's just a very simple unit test for app.py, as an example:
import unittest

from app import app

class Test(unittest.TestCase):
  def test(self):
    result = app.test_client().get('/')

    self.assertEqual(
      result.data.decode('utf-8'),
      'Hello World!'
    )
__init__.py has the GAE path setup:
import os, sys

lib_path = os.path.join(
  os.path.abspath(os.path.dirname(__file__)),
  'lib'
)
sys.path.insert(0, lib_path)

from .app import app

if __name__ == "__main__":
    app.run()
The app only has one dependency, flask, and that single word3 is the content of requirements.txt.
Now the stuff this guide is meant to be about. First the Dockerfile:
FROM python:latest

ADD requirements.txt /

RUN pip install -r requirements.txt

ADD . /code

WORKDIR /code

CMD ["python","-m", "unittest", "discover"]
Simple enough: from the python image install the requirements and run the test.
docker-compose.yml is very simple too:
app:
    build: app
Build and run what's in the app folder
Now what allows GitLab to perform its magic, the .gitlab-ci.yml file:
back:
  image: python
  stage: build
  script:
    - >-
        pip install -t app/lib
        -r app/requirements.txt
    - export PYTHONPATH=$PWD/app/lib:$PYTHONPATH
    - python -m unittest discover
  artifacts:
    paths:
      - app/lib/

deploy_production:
  image: google/cloud-sdk
  stage: deploy
  environment: production
  script:
    - echo $GAE_KEY > /tmp/key.json
    - gcloud config set project $GAE_PROJECT
    - >-
        gcloud
        auth activate-service-account
        --key-file /tmp/key.json
    - gcloud --quiet app deploy
  after_script:
    - rm /tmp/key.json
There are a couple things happening here, but nothing overly complicated:
- In the build stage, run the python docker image, install the requirements locally in a folder called
lib, run the tests and then make thelibfolder available for next stages. - In the deployment stage... deploy the app to GAE (Adjust the commands for your vendor of choice).4
As you can see, to deploy we are using the variables (GAE_KEY and GAE_PROJECT) we set in the previous section.
Finally, app.yaml, which is specific to GAE:
runtime: python27
threadsafe: true

handlers:
  - url: /
    script: app.app
This uses the module structure so it can use the external libraries (flask) in the project.
Deployment
There's not much to this, just run docker-compose up and wait for the OK or possible errors. If there's nothing wrong, then we're ready to deploy. The Dockerfile and the docker-compose.yml file can be tweaked to actually run the server or perform any other task one might need.
In the root folder of our app, initialize git and add the repository URL of the gitlab project as remote. Then you only have to push the code
and, after a few minutes, check the url [your-project-id].appspot.com and the "Hello World!" should be staring right back at you.
Conclusion
So that's it! We've deployed our app to GAE using GitLab. From then on, you can just dedicate yourself to writing the code and its tests. To deploy (to production or staging or any environment you choose), you just need to push and this process will take care testing and delivering the code if there aren't any errors.
Things we could do now is setting up automatic local testing on each commit, multiple stages and notifications for failed and successful builds, etc.
If you have any questions, let me know in the comments.
-
It amazes me how cloud repositories is almost completely isolated from all other Google Cloud services. They used to have a Push-to-Deploy feature but that's gone (if it isn't, it must be really well-hidden now because I spent days reading documentation, forums and question threads about this) and now they suggest setting up one's own continuous integration service. I can't imagine why they did that and, again, I'd rather not risk being charged for running their recommended Jenkins setup. ↩
-
Indeed, if their cloud repositories were integrated with their cloud platform, I might have never bothered to look into GitLab. A good thing in hindsight, all things considered. ↩
-
Not versioning your dependencies is, of course, not recommended. ↩
-
The script for the
deploy_productionstage in.gitlab-ci.ymlis partly based on the one in this cool post by Dennis Alund. ↩